Chainguides and Cylinder assembly

It is time for the chain-case to be assembled. I decided to go with a Granturismo chain guide. The old chain still looked fine so it got reused.

Chain SIL

Clutch is built with GT springs and Surflex plates. I tried the BGM clutch plates first but they were a tad to thick and required thinned inner plates. After trying lots of different combination with thinner metal plates without success I took the BGM cork plates out and bought some good old trusty Surflex cork plates. Stick to what always have worked is probably the key here.

Chaincaseside

I really liked the Granturismo chain tensioner. It is solid and robust in it’s construction. Assembled right, it was easy to set up correctly and push the chain.

Chain tensioner Granturismo

Next step is to look at the top end side. Some new barrel studs were added in order to get some high quality items and get rid of the SIL ones. Because of the dimensions of the GT KIT and it’s porcupine head longer head nuts or multiple head nuts will be needed. The gasket came with the kit and is probably the best base gasket I’ve ever seen in my life.

Cylinder gasket

The piston is also a work of art as expected by the Japanese manufacturers, It’s the same piston as in the Yamaha 350 LC bikes.

Piston

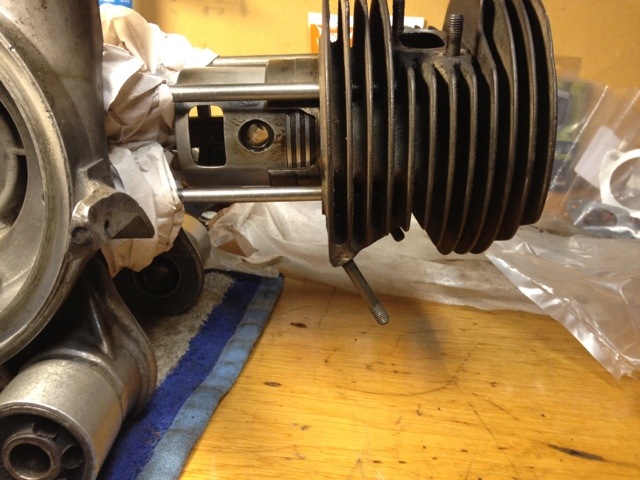
Next I slided on the cylinder, with some light taps with my palm it went all the way in.

Fantastic inlet for the special reed. The reed is lowered in to the cylinder making it possible to use large carbs on the standard side. Thus not needing to sacrifice the battery tray.

Cylinder and inlet

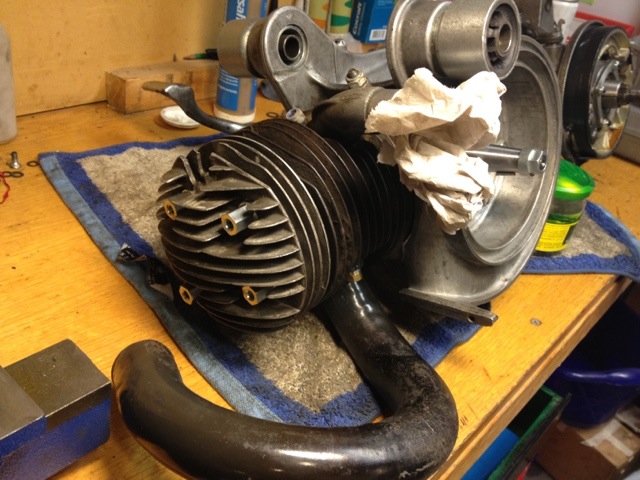
Lastly the porcupine head went on. It has a special porcupine patterns that’s supposed to aid cooling far better than the standard Lambretta heads.
This head also gives you the option of using a central plug if you like, The blanking plug has a thread that takes a K type heat sensor for CHT readings. Neat!

Porcupine head

That’s it for now. Next It it will be time to get the engine back into the bike, stick the carburetor on and try it out.

Piston & Cylinder

Since the newly bought Mahle piston had a finish that looked awfully terrible. It had a too narrow play in cylinder clearance. Piston to bore was less than 0.05. Plus the fact I couldn’t find the rings that I had bought, searching the package from the dealer for them, I simply went for my fine old Borgo piston. The clearance of piston to bore was within limits and the rings were also in a good shape.

20120316-101807.jpg

If it doesn’t work I can always buy new rings or change to the ugly and tight fitting Mahle piston.

20120316-102027.jpg

At least for now everything is done tight up!

Top end and cylinder

I took one hour off today and went to the garage to inspect
my top end and cylinder. I cleaned them out with degrease and wiped
carefully of most of the stuff stuck to it. Cleaning stage has been
doing quite well. With any luck I should soon find myself in the
try to order stuff stage. And with modern scooter shops websites
sucking hard I don’t really look forward into ploughing through
endless lists to find the parts I need and the version I should
get! Here are some images of the end result. I got rid of most of
the carbon build up from the top end inside, just some minor left.

Top end
Top end

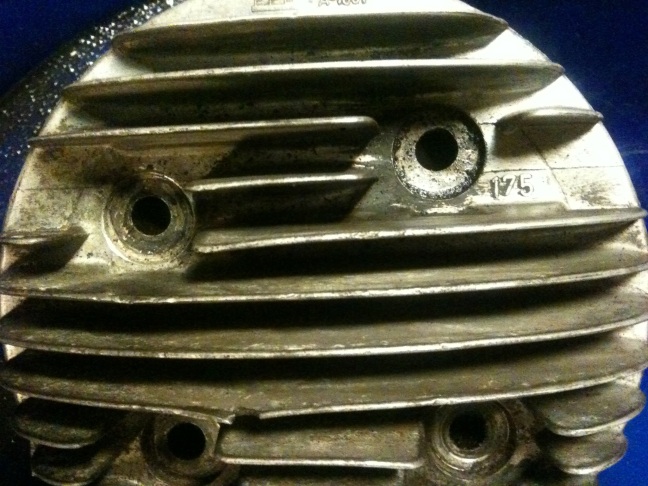
You can see the numbers 175 on the top end indicating it is in fact
a 175cc cylinder and top.

Top End
Top end 175

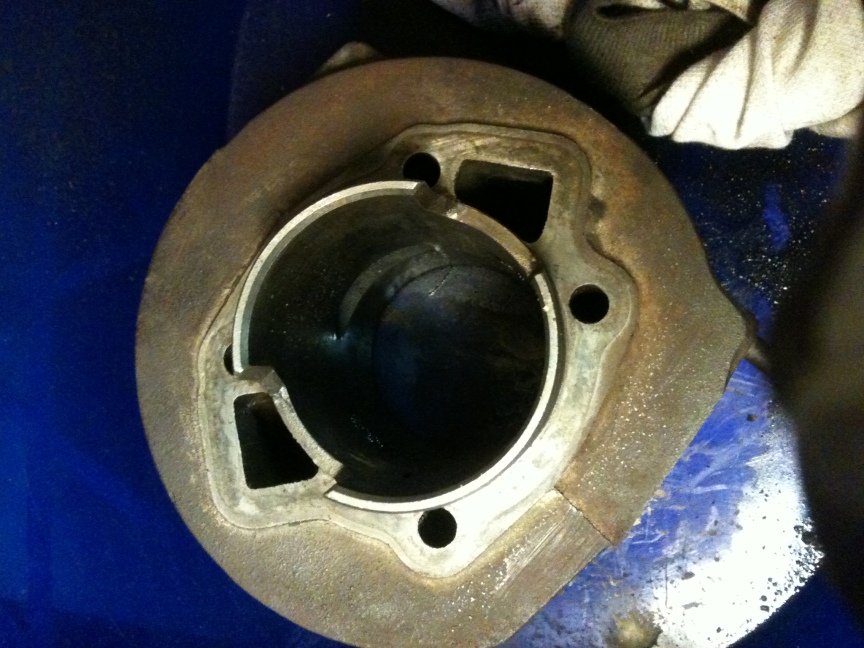
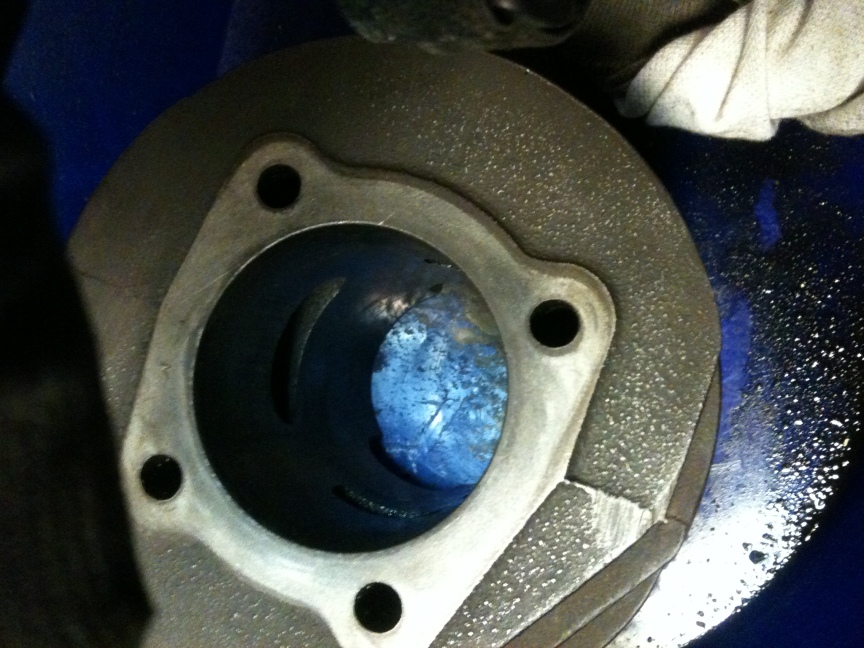
I managed to clean up the Cylinder as good as I could. there are lots
of dirt between the fins and it was difficult to reach it all.

Cylinder
Cylinder

And I do think the barrel looks fine, just some honing and it
will be got to get right back in business again.

Cylinder
Cylinder

What do you think? Good enough?

Piston

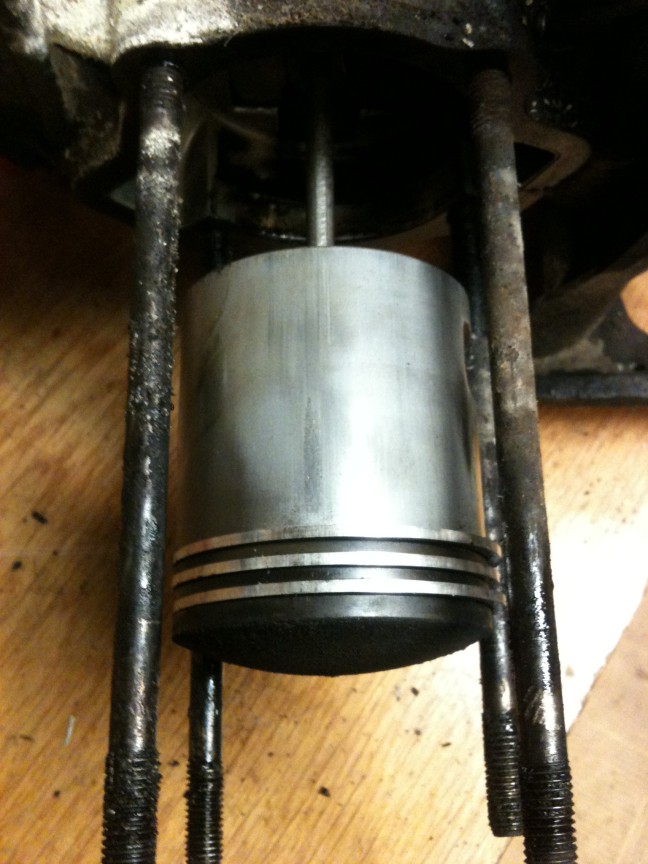
Today the piston saw the world again after decades!

The piston in the cylinder

Fairly dark from the carbon deposits.

It looks fine with some small marks on the side, will have to clean it up and check the rings.

Piston

Piston

I wonder if I should try to reuse this, what do you people think? Otherwise I’ll have to source a good tv175 piston.