Granturismo 200 engine in bike

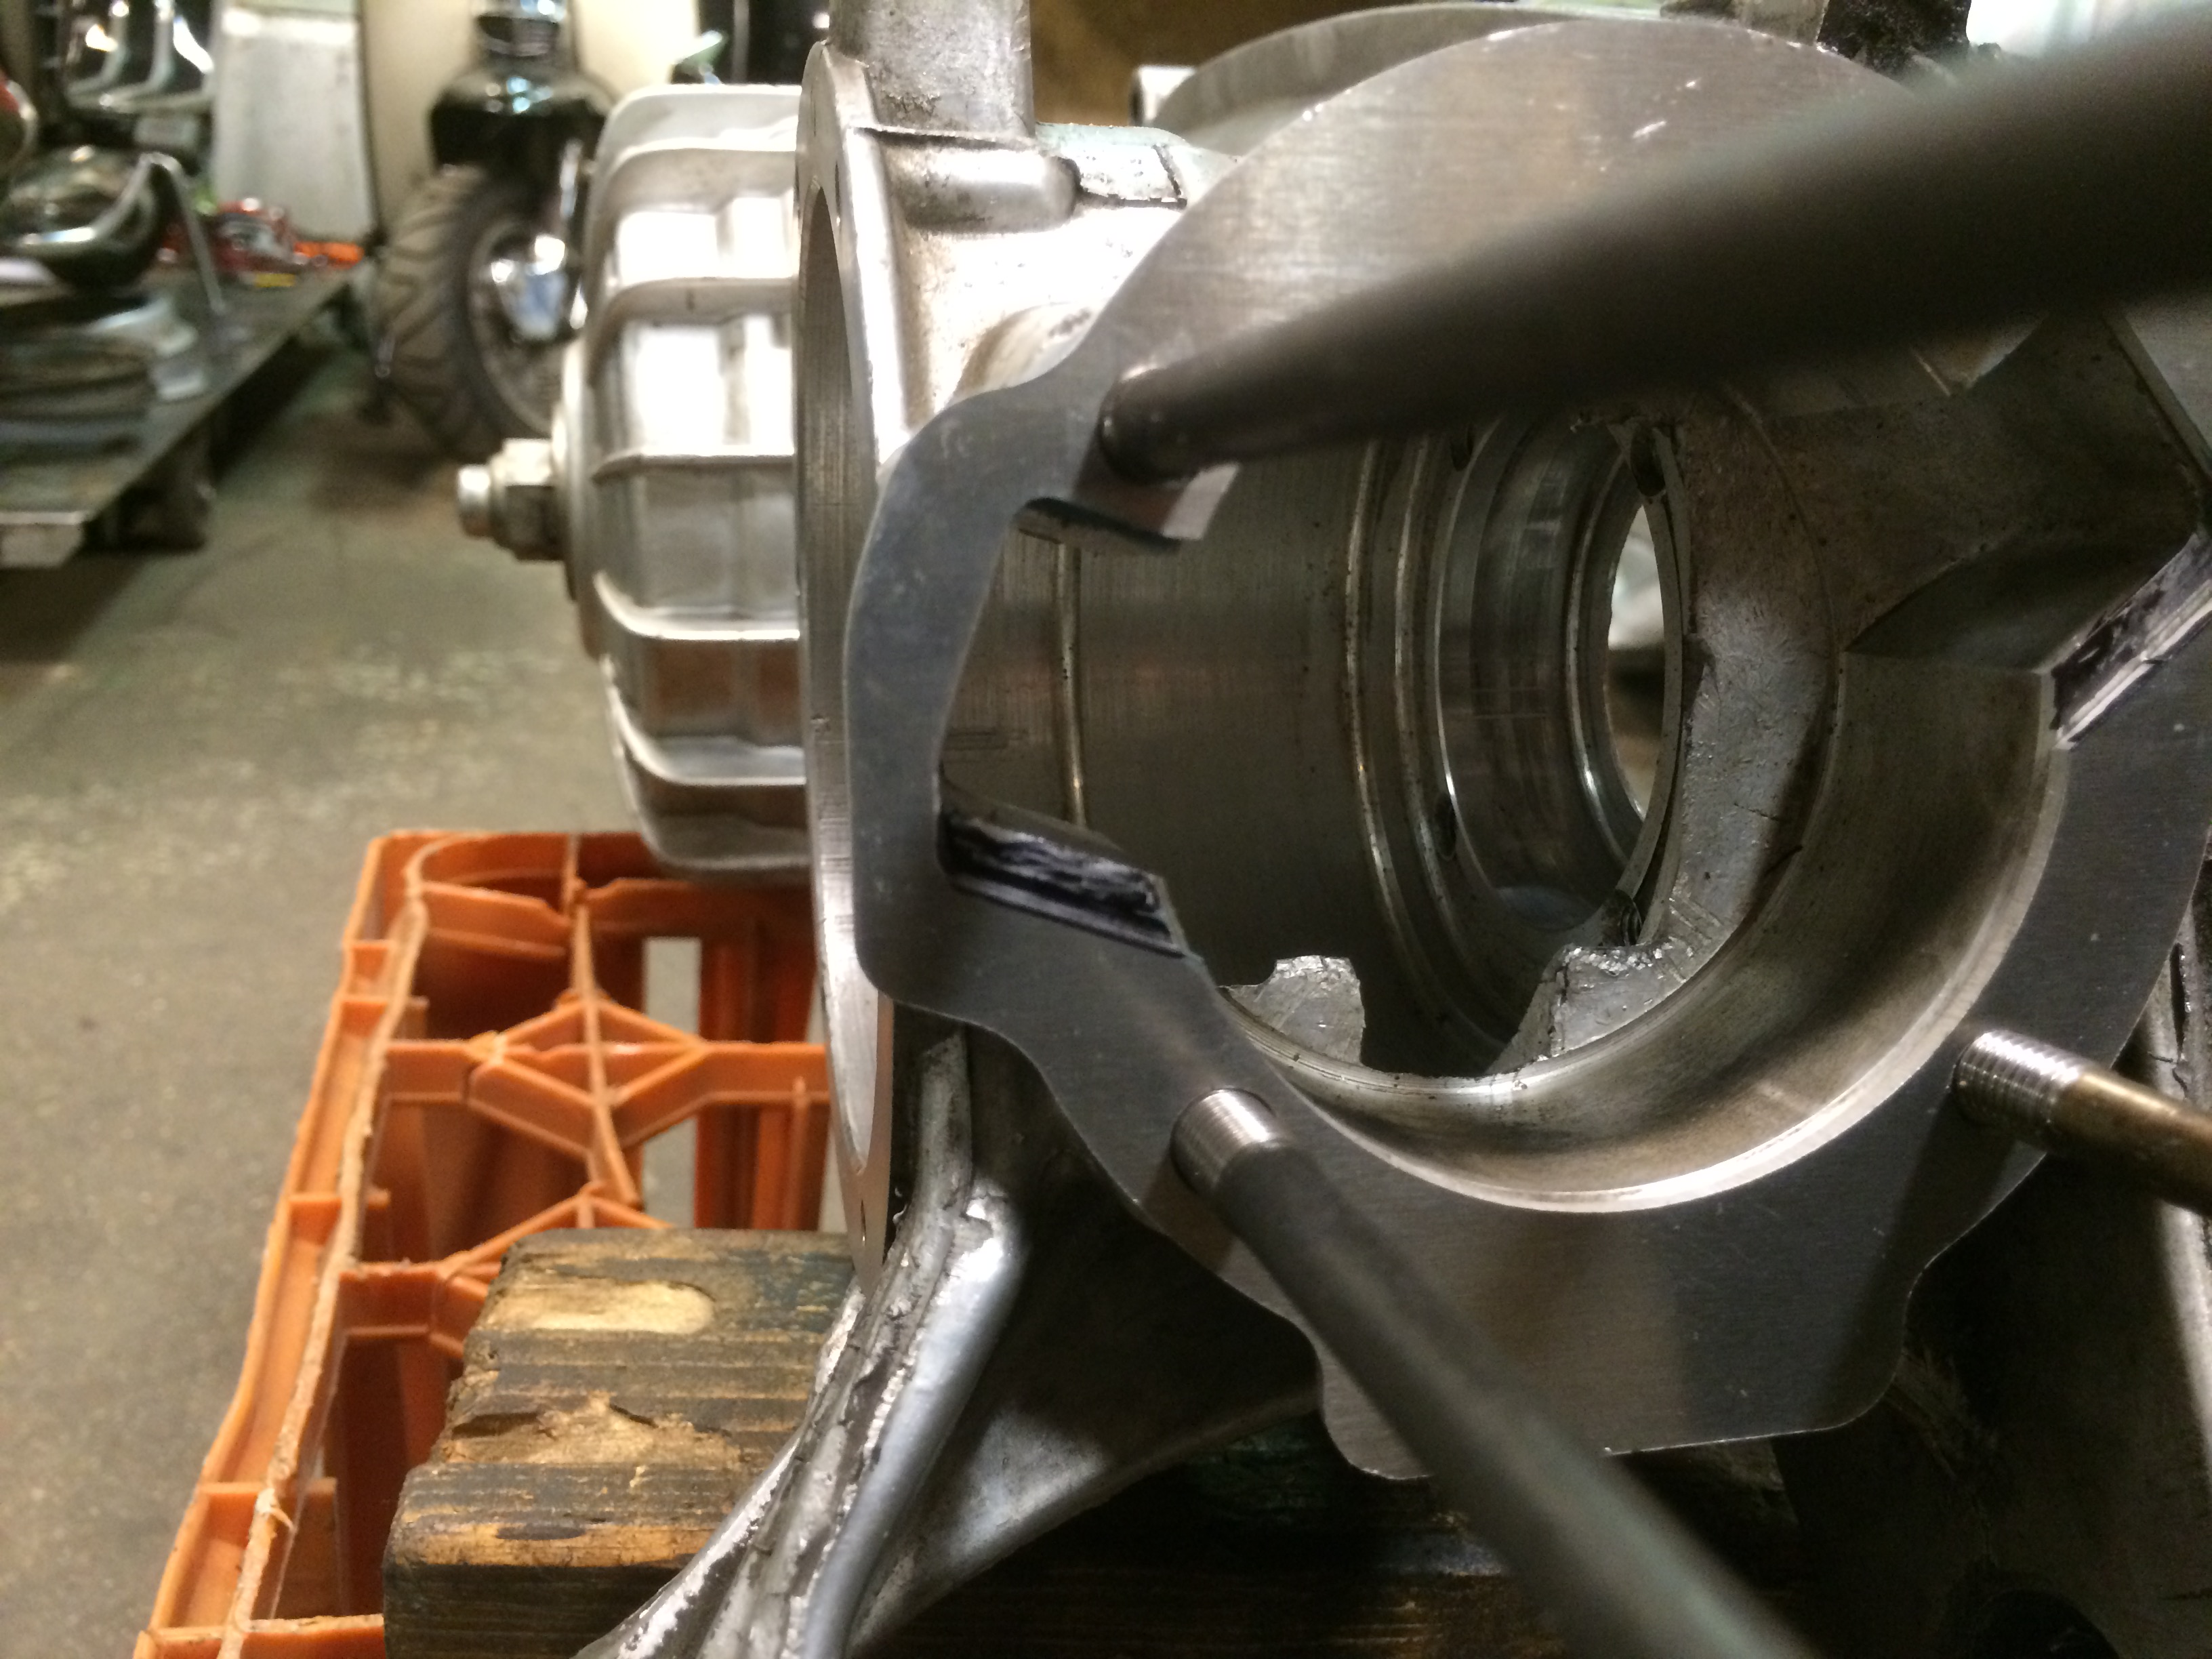
So, I have at last reached the final stage of this engine tuning and rebuild. Everything is assembled and ready to go back into the bike.

Engine ready

It looks good and shiny and matches the chromed Escort rear shock absorber.


Photo 2014-12-28 20 36 43

Next up I connected the PHBH 30 carburetor.
Jetting is:
Main 134
Float jet 350
AV268 atomizer
X13 with clip on top notch
40 slide
55 idle jet
Airscrew 1,5 turns out

The timing was set to 17 degrees.

The scooter runs very smoothly, great power and guts. The MBGM exhaust suits it fine giving good spread of power.
Things I might change in the future is the front sprocket to slightly lower the gearing for more top speed.

I run the SIL chain springs and after 400km they become to weak. Time to upgrade them to the GT springs to cure clutch slip. Unfortunately there’s no dyno around here so I will never know my HP figures and all set up will have to be done on the road.

I did undertake a longer journey of approximately 400km late summer running with passenger and it was a smooth ride. Never ever reached to power since my riding mates didn’t go fast enough for the GT200 kit! Only half throttle cruising and mostly on third gear.

I really recommend the kit to anyone looking for a upgrade!

So that’s it for now then. Keep reading and do post a question or two.


Chainguides and Cylinder assembly

It is time for the chain-case to be assembled. I decided to go with a Granturismo chain guide. The old chain still looked fine so it got reused.

Chain SIL

Clutch is built with GT springs and Surflex plates. I tried the BGM clutch plates first but they were a tad to thick and required thinned inner plates. After trying lots of different combination with thinner metal plates without success I took the BGM cork plates out and bought some good old trusty Surflex cork plates. Stick to what always have worked is probably the key here.

Chaincaseside

I really liked the Granturismo chain tensioner. It is solid and robust in it’s construction. Assembled right, it was easy to set up correctly and push the chain.

Chain tensioner Granturismo

Next step is to look at the top end side. Some new barrel studs were added in order to get some high quality items and get rid of the SIL ones. Because of the dimensions of the GT KIT and it’s porcupine head longer head nuts or multiple head nuts will be needed. The gasket came with the kit and is probably the best base gasket I’ve ever seen in my life.

Cylinder gasket

The piston is also a work of art as expected by the Japanese manufacturers, It’s the same piston as in the Yamaha 350 LC bikes.

Piston

Next I slided on the cylinder, with some light taps with my palm it went all the way in.

Fantastic inlet for the special reed. The reed is lowered in to the cylinder making it possible to use large carbs on the standard side. Thus not needing to sacrifice the battery tray.

Cylinder and inlet

Lastly the porcupine head went on. It has a special porcupine patterns that’s supposed to aid cooling far better than the standard Lambretta heads.
This head also gives you the option of using a central plug if you like, The blanking plug has a thread that takes a K type heat sensor for CHT readings. Neat!

Porcupine head

That’s it for now. Next It it will be time to get the engine back into the bike, stick the carburetor on and try it out.

New Crank and Mag house

So let us move on to the crank and mag housing.

For this scooter engine I though long and hard on what type of crank I would use. At the  time of writting there were reports coming into the forums that the so popular MEC cranks started to brake rods or twist webs. The other makes of quality cranks were out of stock.

I contacted Rich who sells the Granturismo 200 kit and he had been experimenting with cranks. His crank consists of Indian SIL webs that have been machined down and had plastic inserts added. The rod is a 110mm Japanese one and the stroke is standard 58. I decided that this prototype crank will do. Rich is a top guy and I trust his expertise on this matter. The crank will hold for the engines use and power.

Crank 2

Fully seated and the plastic insert visible.

Crank 5

I used a puller and the original bolt. Since this is a SIL engine the bolt and washer are 2 separate parts unlike the Italian one piece item.

Crank 3

With the crank fully in it was time to rebuild the mag housing. I changed the oil seals and bearing (the bearing is 2 piece one where one piece goes on to the crank (they are supposed to be renewed simultaneously) and added a large amount of grease. This bearing gets no lubrication at all what so ever from the engine so it is vital to have high melting grease richly applied here before assembly.

Mag Housing with grease Mag housing with grease other side

With out the mag housing: Crank 6

With the mag housing :Crank through Mag housing

And the last view with the installed crank and mag: External engine view of mag and crank

Porting Transfers

So, since I’m going for the vastly superior Grantourismo GT200 KIT I might as well port the transfers on min SIL casing.

I want to get some extra oomph out of this engine since it’s destined to become my mile crunching rally going scooter.

I used the 2,5 mm packing plate that came with the kit to accommodate the 110 conrod on the crank. I just used a regular black felt marker pen to mark where I need to Dremel the transfer ports.

Marking the transfers

This is the first time I actually used a Dremel. I’ve had it for a while laying around in a drawer. So now is a good time to learn how to use it.
I moved the engine case to my friends garage for some moral support and got right to it.

Dremel work

After almost 1 hour of very carefully Dremel’ing I’ve reached the end result that I’m happy with. This should allow the kit to utilize the full power of it’s transfers and not limit it to what the standard Indian transfers can do.

As you see I didn’t do anything to the lower sides of the transfers thinking it aligned good enough. I also didn’t want to make the walls to thin.

Finished porting the transfers

Really happy with the work on the transfer.
To bad I won’t have any before and after experience of the power!

Upgrading the engine with bearings, oil seals and silent blocks

So let us start the rebuild, first up on my list were the bearings all around the engine. All the original Indian items were changed to quality items. Now, nowadays nothing is produced in Europe except for expensive high street fashion brands. The bearings in the SIL engine, which dated mid 2005, were of the brand SKF India. The replacements I found, also SKF, from a dealer either has no country stamped on them or they are made somewhere in the far east (China, India, Vietnam).

Even if they state they are made in Europe, it’s probably either assembled or packaged here. They components are probably made in the far east.

Drive side6205 and retaingin plateNU2205

Now On Oil seals I always go for either ROLF or Viton. They are supposed to withstand all the ethanol in modern fuel. Maybe I’m falling for a hoax here but for a small price difference I rather ease my mind.

The second thing to change is the silent blocks. Now while digging around at forums on the internet I learned that, when it comes to tuned engines, all of the silent blocks behave just as good as the other. There is a possibility to buy a longer silent block for the kick start side but to a higher expense making it not worth the gain you would experience.

So, SIL blocks were chosen.

SIL Silent Blocks

The casing was heated up with a heat gun. Made sure to take my time on this step in order for the silent blocks to go in easily and not risking braking the case. It hapens if your are not carefull and do the job properly. Expensive to weld back on.

Heating the casingSilent Blockes installed