Chainguides and Cylinder assembly

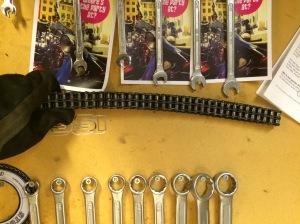
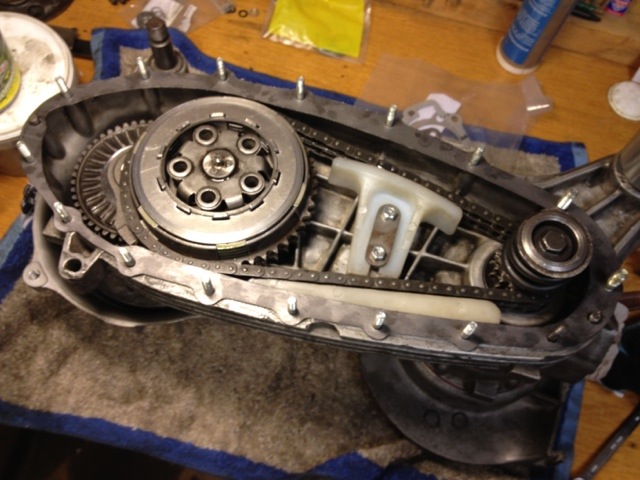
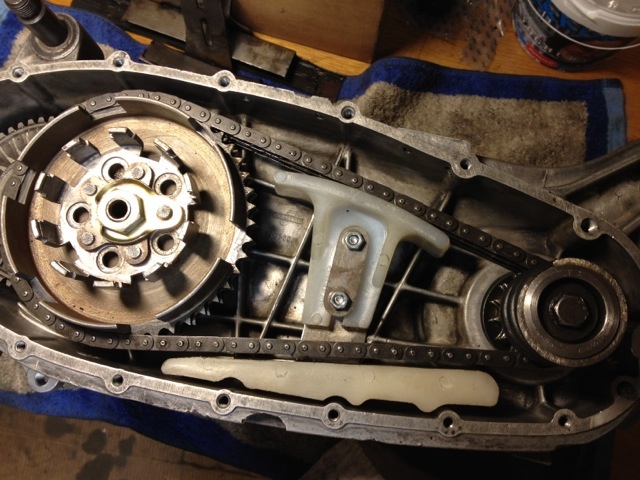
It is time for the chain-case to be assembled. I decided to go with a Granturismo chain guide. The old chain still looked fine so it got reused.

Chain SIL

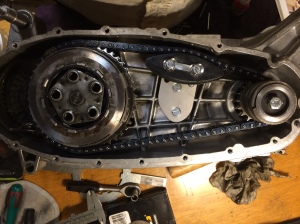
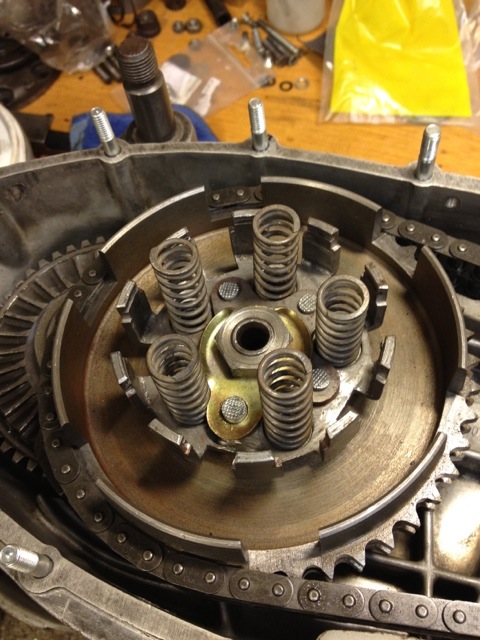
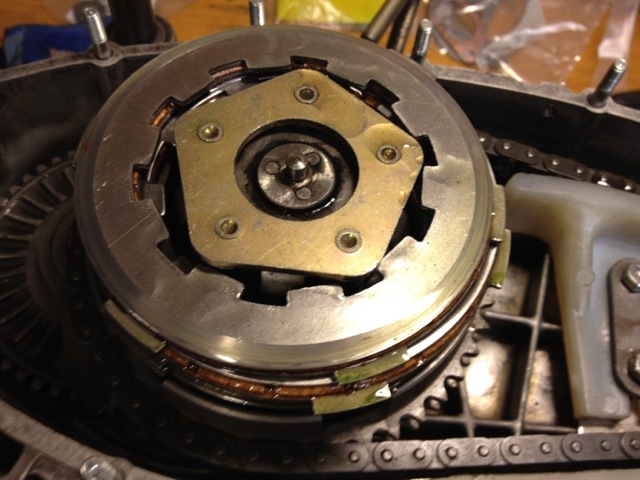
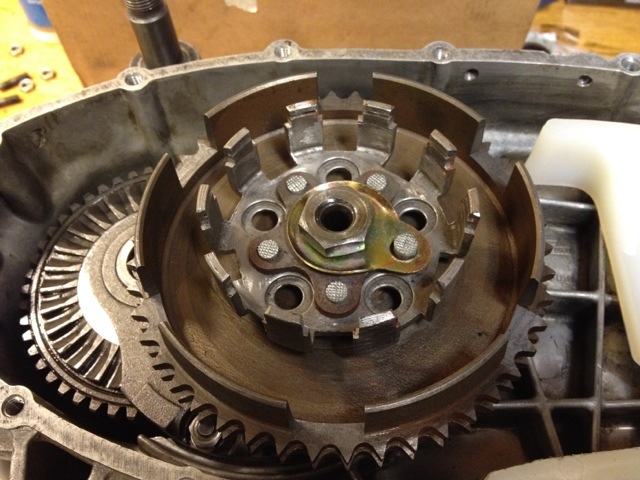
Clutch is built with GT springs and Surflex plates. I tried the BGM clutch plates first but they were a tad to thick and required thinned inner plates. After trying lots of different combination with thinner metal plates without success I took the BGM cork plates out and bought some good old trusty Surflex cork plates. Stick to what always have worked is probably the key here.

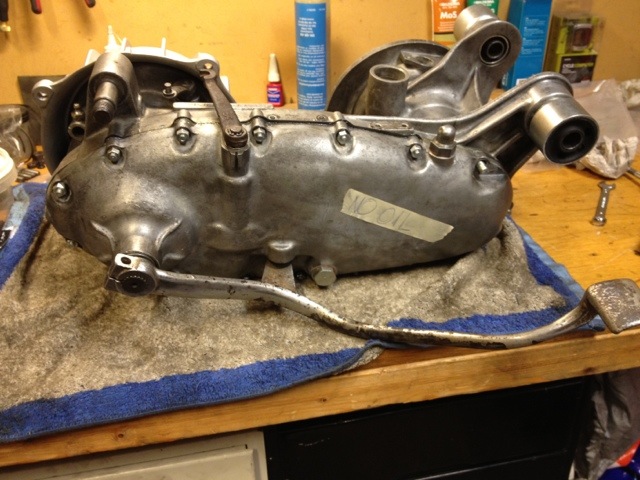
Chaincaseside

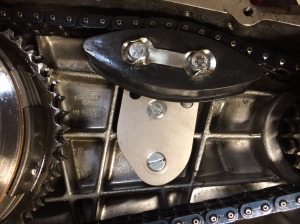
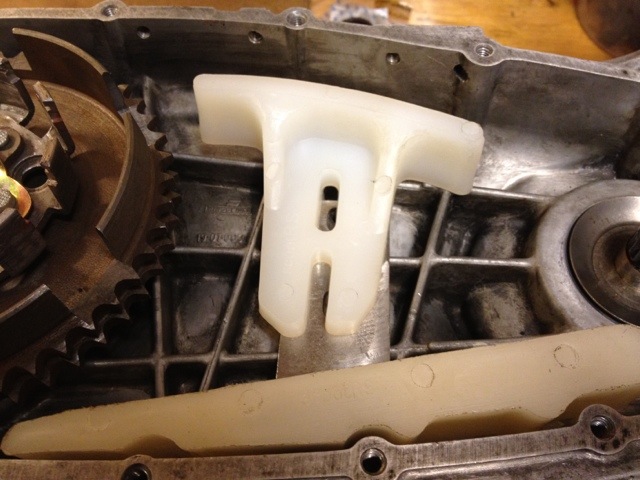
I really liked the Granturismo chain tensioner. It is solid and robust in it’s construction. Assembled right, it was easy to set up correctly and push the chain.

Chain tensioner Granturismo

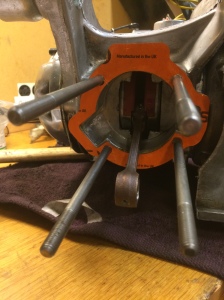
Next step is to look at the top end side. Some new barrel studs were added in order to get some high quality items and get rid of the SIL ones. Because of the dimensions of the GT KIT and it’s porcupine head longer head nuts or multiple head nuts will be needed. The gasket came with the kit and is probably the best base gasket I’ve ever seen in my life.

Cylinder gasket

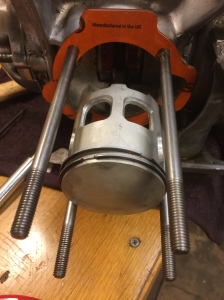
The piston is also a work of art as expected by the Japanese manufacturers, It’s the same piston as in the Yamaha 350 LC bikes.

Piston

Next I slided on the cylinder, with some light taps with my palm it went all the way in.

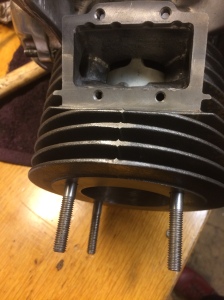
Fantastic inlet for the special reed. The reed is lowered in to the cylinder making it possible to use large carbs on the standard side. Thus not needing to sacrifice the battery tray.

Cylinder and inlet

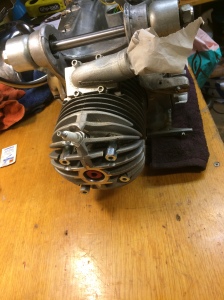
Lastly the porcupine head went on. It has a special porcupine patterns that’s supposed to aid cooling far better than the standard Lambretta heads.
This head also gives you the option of using a central plug if you like, The blanking plug has a thread that takes a K type heat sensor for CHT readings. Neat!

Porcupine head

That’s it for now. Next It it will be time to get the engine back into the bike, stick the carburetor on and try it out.

A look inside a SIL engine part 2 Chain case side

So let us move inside the chain casing.

Chain case

Everything looks fine here. No missing links on the chain, no loose sprockets och gear teeth falling out. I’d say this engine have fared well in the stand of time.

The oil drain plug look neat and clean.

Oil drain plug

Nice and good condition front sprocket assembly. It has the SIL 2 piece bold and washer. I opted to keep it that way.

Good front sprocket assembly

Same goes for the rear sprocket.

Rear sprocket assembly

So in the clutch area the corks needs replacing as they are worn down quite a bit. Approximately one millimeter smaller than new plates. Since this will be an uprated engine with a Cylinder Kit, Granturismo 200, I better replace them for new ones.

Clutch
Clutch
Springs
Springs

The Springs look straight and fine. Will reuse them. Since the setup I’m aiming for will not exceed 19hp they should be enough.

All fine with the pressure plate, top clutch steel and clutch spider.

Clutch Pressure plate
Clutch spider
Clutch spider
Top Plate
Top Plate

The chain looks ok, maybe a little stretched thus I will install a chain tensioner.

Lambreta Chain
Lambreta Chain

All clutch part were inspected for any burs or other marks of wear. If found any then a small file helped me fix them up.I’m satisfied with the quality and state of these parts and I will gladly reuse them.

Clutch

Now it was time to rebuild the clutch before closing the transmission side up.

20120309-071701.jpg

I added the new spring in line, and afterwards the clutch basket.

20120309-071805.jpg

The plates had been soaked in gearbox oil for a couple of days. I also did have acces to the clutch spring holding tool. Made things easier.

20120309-071956.jpg

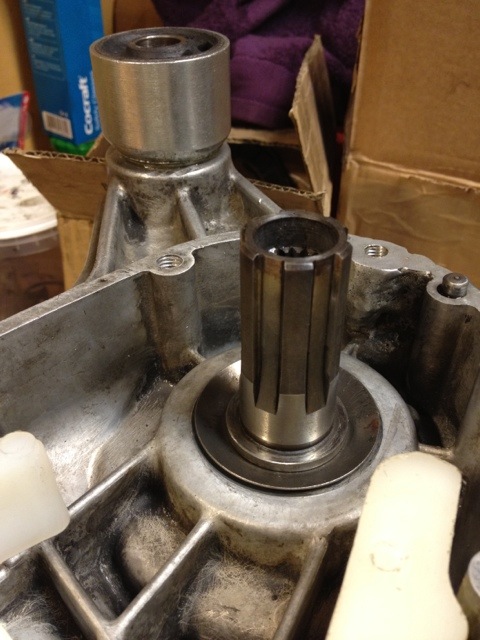
My engine had the old clutch basket with a spline that fits into the gear cluster and uses a thimble to compress.

Finally I did all the nuts up and I am ready to move on to the rear brake section.

20120309-072205.jpg

Crankcase tensioners

Yesterday I modified the top tensioner so it fits in its bottom most position without touching the chain underneath. I also installed a quick slip. Didn’t know how it’s supposed to work or if it should be installed touching the chain or just laying there under it. Here’s my results:

20120302-075348.jpg

Front & rear sprocket

Went down to my garage today to continue work on my engine. It was time for the front and rear sprocket plus the chain.

After a closer inspection on the older rear sprocket and clutch spider I decided to replace them with new ones. My rear sprocket was oct the cush drive type and sticky did not recommend it at all. Here you can see my test assembly before adding the chain and before tightening everything up.

20120228-225026.jpg

At first I had some problem to fit the front sleeve over the crank but with the help of a little grease it slider on well.

20120228-225040.jpg

I’ve decided to skip the lover chain guide and go with a modern nylon type. After testing various ways I decided not to use the nylon bottom one and just add the upper tensioner.

20120228-225118.jpg

I had problems deciding if the chain was to tight. I couldn’t get the feel of how much 5 to 6 mm should be. More on that on the next post.