Kickstart assembly

Apparently there are 3 types of kick start mechanism with 3 different lengths depending firslty on your case and secondly if it’s been modified by Innocent to fix a production error.

Then you have the ramp difference between GP/DL or the other models. On a GP the ramp is part of the end plate. On the earlier modells it’s a separate part. The original one has been reproduced and is available. Then theres a more modern ramp solution which looks like half the original ramp.

The ramp I got didn’t allow for the kick start piston to fully seat so I’ll be doing some grinding to remove a little more metal to make it operate correctly.

The ultimate position would be for the kick to engage as soon as it’s pressed.  
This kickstart mechanism is from SIL and made for the GP case. It just fits to the LI case that has had the Innocenti modification made. It’s approximately 1 mm short so the circlip was difficult to install and needed some persuation in order to fit.

Rear Hub and Brakes

Here you see the rear brake and layshaft setup plus the retaining plates for the oil seal. 

The SIL layshaft I had sitting on the shelves for some year finally got used and looks ever so shiny  brand new.

The brake pivot and retainers are leftothers from an older rebuild that was changed to a jockeys setup. Brake shoes of Indian origin. img_5022

I didn’t have any brake arm or could find one from friends and all shops were out of SIL ones. So this one from a Servetta Will have to do.

 Looking good!img_5025

Gearbox with endplate and drive side bearings

The rebuild is on.

I’ve managed to find some missing parts from scooter friends and buy others from SCK and Scooter Restorations.

First to do was the rear bearing, layshaft, end plate, gearbox and gear selector.

I changed the bearing track on the end plate since it was worn out and upgraded the bearing to s FAG one.

Through Scooter Restorations I found a SKF branded rear bearing! The SKF brand is the highest rated around here so it went in and it fitted perfectly.

Then the layshaft was prepared with the selector balls, spring and sliding dog.

The gearbox is a LI150 Indian remade one. It looks OK although a little on the rough side. In it went and followed by the shins and needle roller bearing before the end plate got bolted down to get the correct clearance readings between it and the shim.

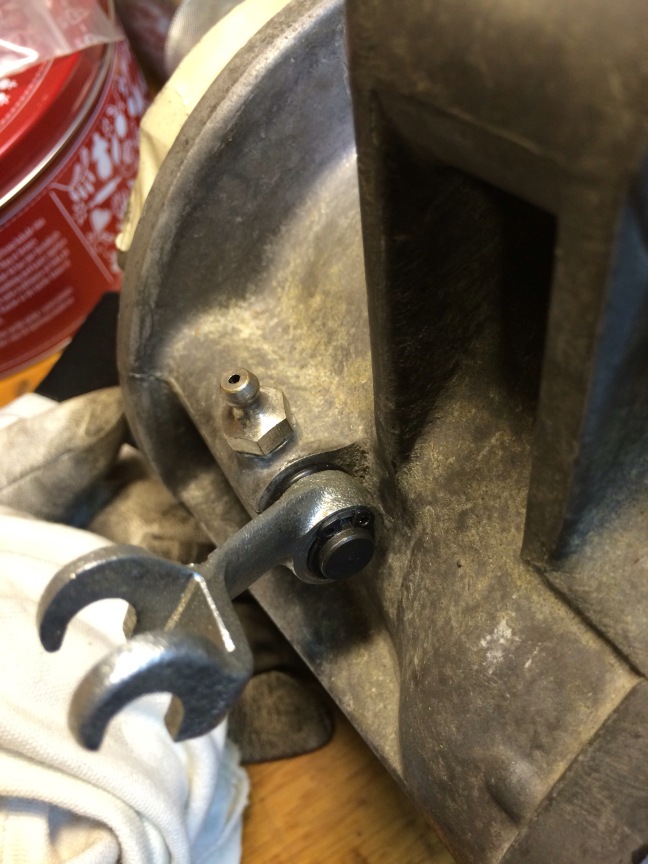
Decided to go for bolts on the end plate this time.

I chose the one piece gear arm in order to keep parts needed to a minimum. Tried to align the gear selector arm as good as possible.

On the other end an updated C3 bearing was installed with an extra seal. Since I’m reusing as much parts as possible the bearing plate was installed with an Viton oil seal. New hex screw with a small dab of locktite sealed it up nicely.

When it comes to silent block, engine mounts I have had som bad experiences. Last engine rebuild I installed two 3 hole indian ones that lasted 800km before collapsing. This time I’m reusing a 2 hole Indian SIL mount that was removed from my SIL GP200 engine. It still feels stiff enough and the rubber still looks intact. On the flywheel side I bought a new Indian SIL 2 hole one. Time will tell!

Silent blocks are quite difficult to find in a good quality today. so far I prefer the SIL 2 hole from Scooter Restorations. Indian 3 hole don’t last long and BGM + Scootopia ones are too stiff and transmits a lot more vibration.
  You can also see the uprated C3 bearing from the other side in the above picture the threads holding the exhaust had been reworked to larger tapper, m10 and had started to crack. So I rewelded everything and restored the M8 threads.  

New Crank and Mag house

So let us move on to the crank and mag housing.

For this scooter engine I though long and hard on what type of crank I would use. At the  time of writting there were reports coming into the forums that the so popular MEC cranks started to brake rods or twist webs. The other makes of quality cranks were out of stock.

I contacted Rich who sells the Granturismo 200 kit and he had been experimenting with cranks. His crank consists of Indian SIL webs that have been machined down and had plastic inserts added. The rod is a 110mm Japanese one and the stroke is standard 58. I decided that this prototype crank will do. Rich is a top guy and I trust his expertise on this matter. The crank will hold for the engines use and power.

Crank 2

Fully seated and the plastic insert visible.

Crank 5

I used a puller and the original bolt. Since this is a SIL engine the bolt and washer are 2 separate parts unlike the Italian one piece item.

Crank 3

With the crank fully in it was time to rebuild the mag housing. I changed the oil seals and bearing (the bearing is 2 piece one where one piece goes on to the crank (they are supposed to be renewed simultaneously) and added a large amount of grease. This bearing gets no lubrication at all what so ever from the engine so it is vital to have high melting grease richly applied here before assembly.

Mag Housing with grease Mag housing with grease other side

With out the mag housing: Crank 6

With the mag housing :Crank through Mag housing

And the last view with the installed crank and mag: External engine view of mag and crank

Upgrading the engine with bearings, oil seals and silent blocks

So let us start the rebuild, first up on my list were the bearings all around the engine. All the original Indian items were changed to quality items. Now, nowadays nothing is produced in Europe except for expensive high street fashion brands. The bearings in the SIL engine, which dated mid 2005, were of the brand SKF India. The replacements I found, also SKF, from a dealer either has no country stamped on them or they are made somewhere in the far east (China, India, Vietnam).

Even if they state they are made in Europe, it’s probably either assembled or packaged here. They components are probably made in the far east.

Drive side6205 and retaingin plateNU2205

Now On Oil seals I always go for either ROLF or Viton. They are supposed to withstand all the ethanol in modern fuel. Maybe I’m falling for a hoax here but for a small price difference I rather ease my mind.

The second thing to change is the silent blocks. Now while digging around at forums on the internet I learned that, when it comes to tuned engines, all of the silent blocks behave just as good as the other. There is a possibility to buy a longer silent block for the kick start side but to a higher expense making it not worth the gain you would experience.

So, SIL blocks were chosen.

SIL Silent Blocks

The casing was heated up with a heat gun. Made sure to take my time on this step in order for the silent blocks to go in easily and not risking braking the case. It hapens if your are not carefull and do the job properly. Expensive to weld back on.

Heating the casingSilent Blockes installed