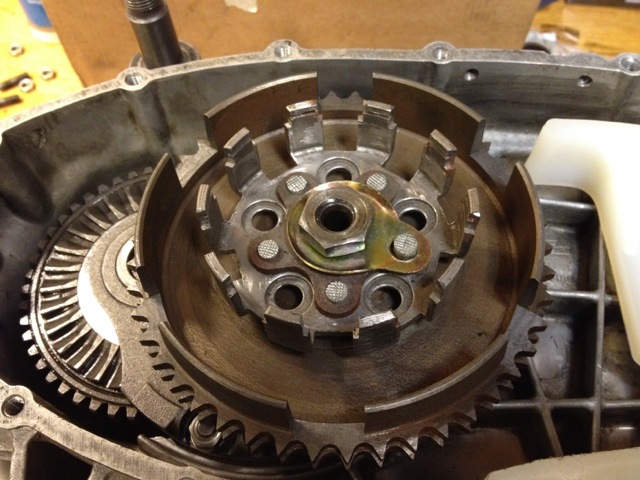
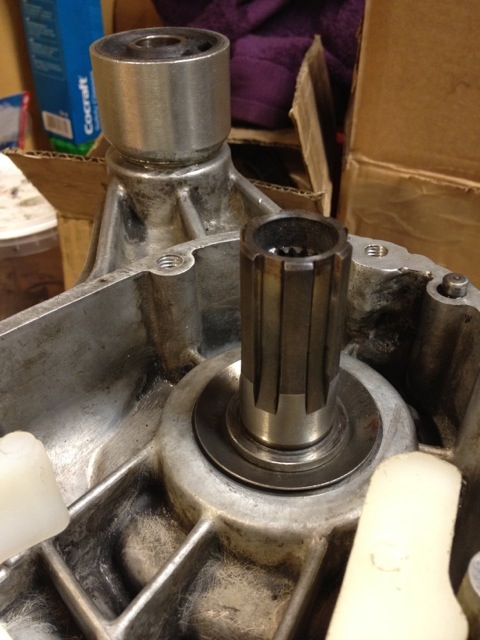
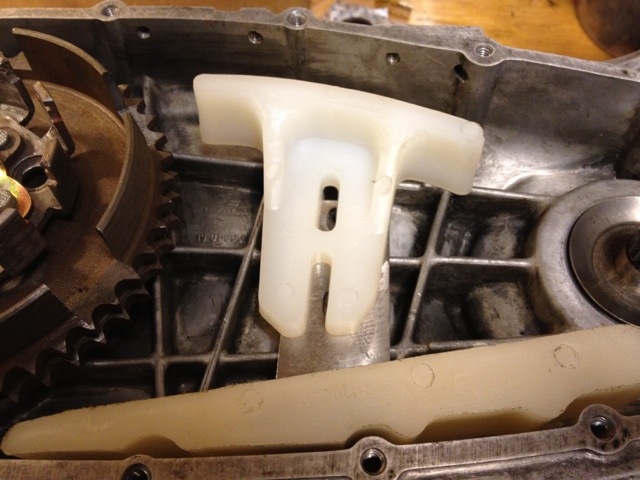
So let us move on to the crank and mag housing.
For this scooter engine I though long and hard on what type of crank I would use. At the time of writting there were reports coming into the forums that the so popular MEC cranks started to brake rods or twist webs. The other makes of quality cranks were out of stock.
I contacted Rich who sells the Granturismo 200 kit and he had been experimenting with cranks. His crank consists of Indian SIL webs that have been machined down and had plastic inserts added. The rod is a 110mm Japanese one and the stroke is standard 58. I decided that this prototype crank will do. Rich is a top guy and I trust his expertise on this matter. The crank will hold for the engines use and power.
Fully seated and the plastic insert visible.
I used a puller and the original bolt. Since this is a SIL engine the bolt and washer are 2 separate parts unlike the Italian one piece item.
With the crank fully in it was time to rebuild the mag housing. I changed the oil seals and bearing (the bearing is 2 piece one where one piece goes on to the crank (they are supposed to be renewed simultaneously) and added a large amount of grease. This bearing gets no lubrication at all what so ever from the engine so it is vital to have high melting grease richly applied here before assembly.


