Rear Hub and Brakes

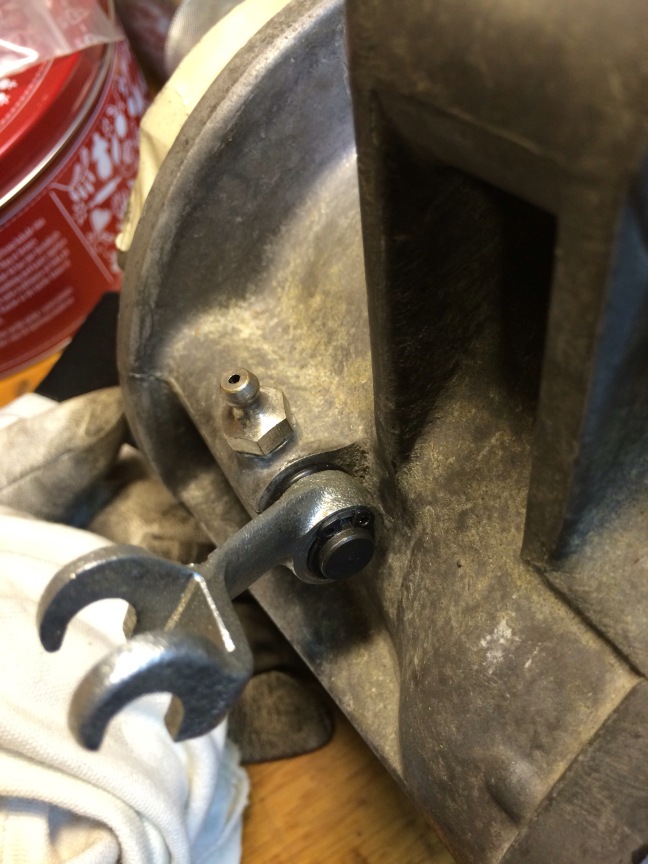
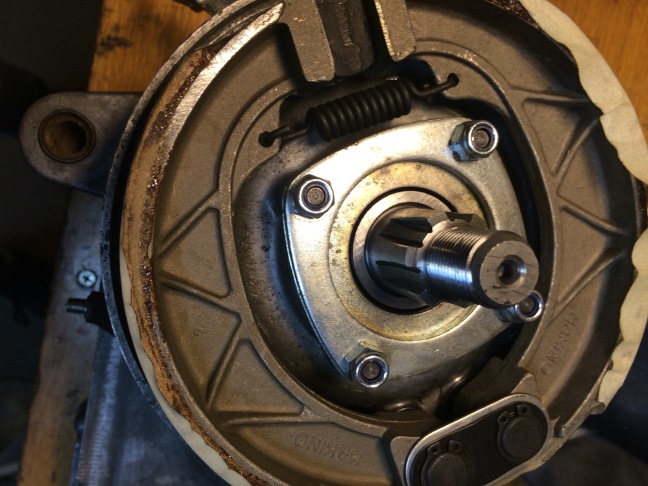
Here you see the rear brake and layshaft setup plus the retaining plates for the oil seal. 

The SIL layshaft I had sitting on the shelves for some year finally got used and looks ever so shiny  brand new.

The brake pivot and retainers are leftothers from an older rebuild that was changed to a jockeys setup. Brake shoes of Indian origin. img_5022

I didn’t have any brake arm or could find one from friends and all shops were out of SIL ones. So this one from a Servetta Will have to do.

 Looking good!img_5025

Gearbox with endplate and drive side bearings

The rebuild is on.

I’ve managed to find some missing parts from scooter friends and buy others from SCK and Scooter Restorations.

First to do was the rear bearing, layshaft, end plate, gearbox and gear selector.

I changed the bearing track on the end plate since it was worn out and upgraded the bearing to s FAG one.

Through Scooter Restorations I found a SKF branded rear bearing! The SKF brand is the highest rated around here so it went in and it fitted perfectly.

Then the layshaft was prepared with the selector balls, spring and sliding dog.

The gearbox is a LI150 Indian remade one. It looks OK although a little on the rough side. In it went and followed by the shins and needle roller bearing before the end plate got bolted down to get the correct clearance readings between it and the shim.

Decided to go for bolts on the end plate this time.

I chose the one piece gear arm in order to keep parts needed to a minimum. Tried to align the gear selector arm as good as possible.

On the other end an updated C3 bearing was installed with an extra seal. Since I’m reusing as much parts as possible the bearing plate was installed with an Viton oil seal. New hex screw with a small dab of locktite sealed it up nicely.

When it comes to silent block, engine mounts I have had som bad experiences. Last engine rebuild I installed two 3 hole indian ones that lasted 800km before collapsing. This time I’m reusing a 2 hole Indian SIL mount that was removed from my SIL GP200 engine. It still feels stiff enough and the rubber still looks intact. On the flywheel side I bought a new Indian SIL 2 hole one. Time will tell!

Silent blocks are quite difficult to find in a good quality today. so far I prefer the SIL 2 hole from Scooter Restorations. Indian 3 hole don’t last long and BGM + Scootopia ones are too stiff and transmits a lot more vibration.
  You can also see the uprated C3 bearing from the other side in the above picture the threads holding the exhaust had been reworked to larger tapper, m10 and had started to crack. So I rewelded everything and restored the M8 threads.  
Suspension upgraded

So I finally managed to change the fork suspension parts. I bent one rod during the routine and learned along the way that upgrading with the forks in place is difficult. Doable but difficult.  


Important was to have the long compressor so you get enough leverage. A third hand also helps and patience. 

The feel is improved, the MB progressive springs do a far better job than any standard part or external suspension. 

Mission accomplished. 

New Crank and Mag house

So let us move on to the crank and mag housing.

For this scooter engine I though long and hard on what type of crank I would use. At the  time of writting there were reports coming into the forums that the so popular MEC cranks started to brake rods or twist webs. The other makes of quality cranks were out of stock.

I contacted Rich who sells the Granturismo 200 kit and he had been experimenting with cranks. His crank consists of Indian SIL webs that have been machined down and had plastic inserts added. The rod is a 110mm Japanese one and the stroke is standard 58. I decided that this prototype crank will do. Rich is a top guy and I trust his expertise on this matter. The crank will hold for the engines use and power.

Crank 2

Fully seated and the plastic insert visible.

Crank 5

I used a puller and the original bolt. Since this is a SIL engine the bolt and washer are 2 separate parts unlike the Italian one piece item.

Crank 3

With the crank fully in it was time to rebuild the mag housing. I changed the oil seals and bearing (the bearing is 2 piece one where one piece goes on to the crank (they are supposed to be renewed simultaneously) and added a large amount of grease. This bearing gets no lubrication at all what so ever from the engine so it is vital to have high melting grease richly applied here before assembly.

Mag Housing with grease Mag housing with grease other side

With out the mag housing: Crank 6

With the mag housing :Crank through Mag housing

And the last view with the installed crank and mag: External engine view of mag and crank

Porting Transfers

So, since I’m going for the vastly superior Grantourismo GT200 KIT I might as well port the transfers on min SIL casing.

I want to get some extra oomph out of this engine since it’s destined to become my mile crunching rally going scooter.

I used the 2,5 mm packing plate that came with the kit to accommodate the 110 conrod on the crank. I just used a regular black felt marker pen to mark where I need to Dremel the transfer ports.

Marking the transfers

This is the first time I actually used a Dremel. I’ve had it for a while laying around in a drawer. So now is a good time to learn how to use it.
I moved the engine case to my friends garage for some moral support and got right to it.

Dremel work

After almost 1 hour of very carefully Dremel’ing I’ve reached the end result that I’m happy with. This should allow the kit to utilize the full power of it’s transfers and not limit it to what the standard Indian transfers can do.

As you see I didn’t do anything to the lower sides of the transfers thinking it aligned good enough. I also didn’t want to make the walls to thin.

Finished porting the transfers

Really happy with the work on the transfer.
To bad I won’t have any before and after experience of the power!